Stitching redwood trees

Note: This is a brief tutorial—made for intermediate to advanced stitchers.
I’m very fortunate because I see giant redwood trees every day outside my bedroom window. I wake up to the tall regal things saying hello to me with their immensity, it’s really pretty awesome. I think that’s why they’re one of my favorite things to stitch, and they’re the things I’m gonna go over today in this post.

Setting up
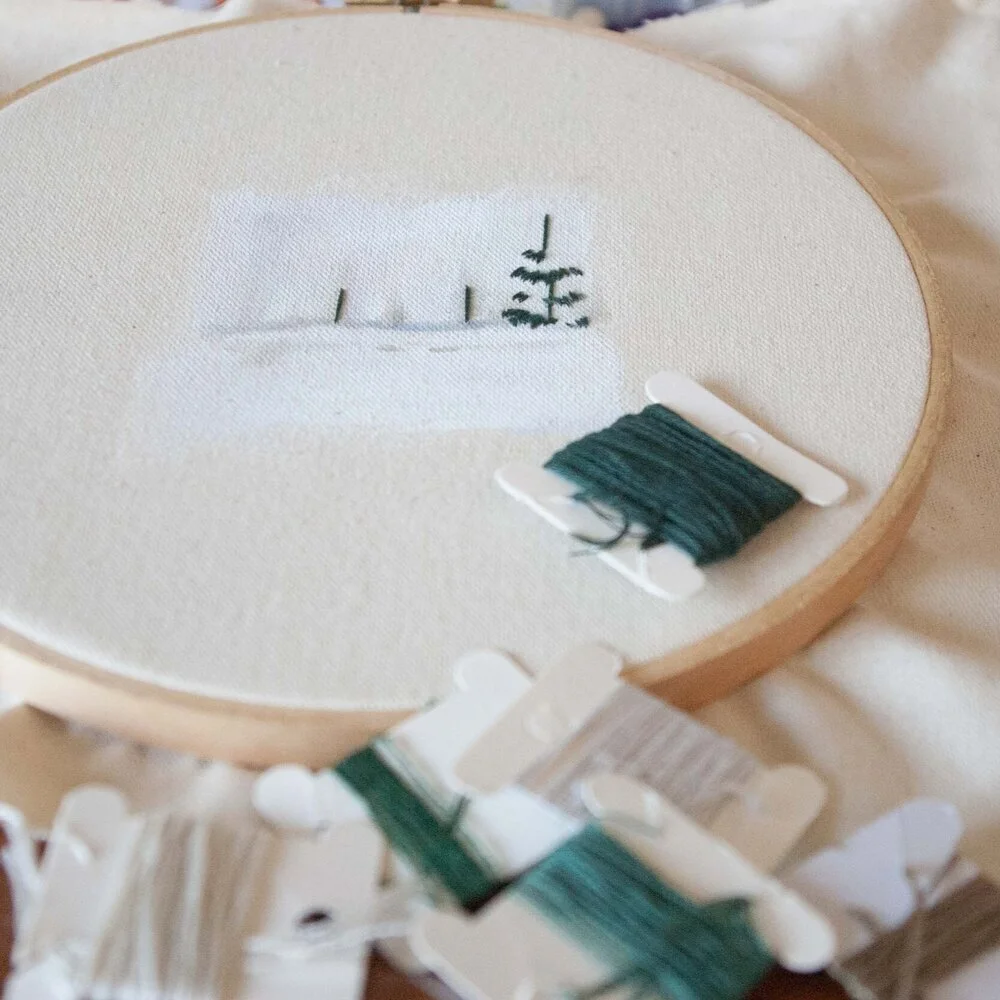
I start my embroidery by setting up my fabric in a normal embroidery hoop, keeping the fabric taut. This keeps my fabric flat so I have more control of the paintbrush against the fabric. I don't know if you've ever tried painting on fabric before but it's not like paper. The fabric is porous so it absorbs a lot more of the paint.
Put a lot of white in the paint for the sky. If the paint is too dark, you won't be able to see the dark thread.
You can see in this picture, I quickly painted a rough idea of where the trees are. This helps give the embroidery some depth once I put the thread on.
Finding thread
I have a bunch of green embroidery thread next to my paint as it dries, because I like to spend a lot of time choosing my colors. Looking at the thread next to the paint helps to see if they feel good together visually. I try to stay accurate to what I see outside or in my photo, but sometimes if I feel like a different green will work better, I'll use that. It's about following your gut.
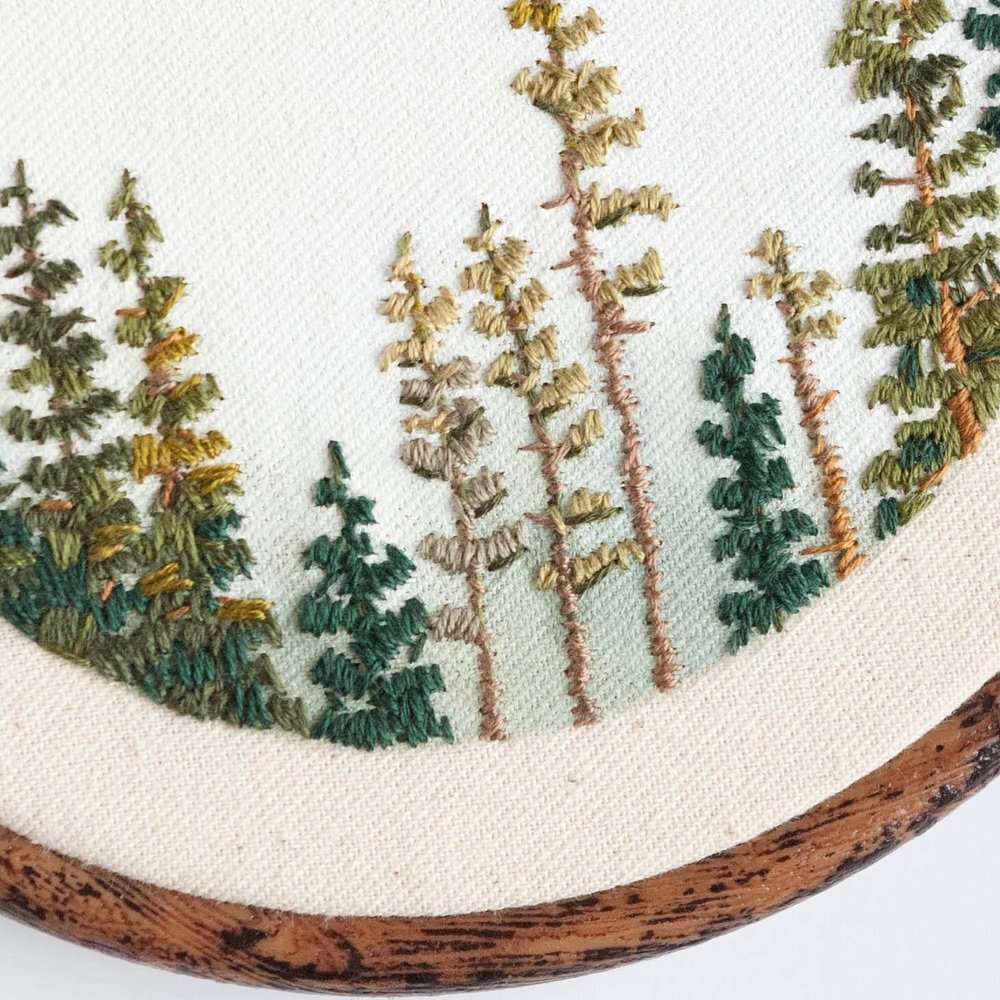
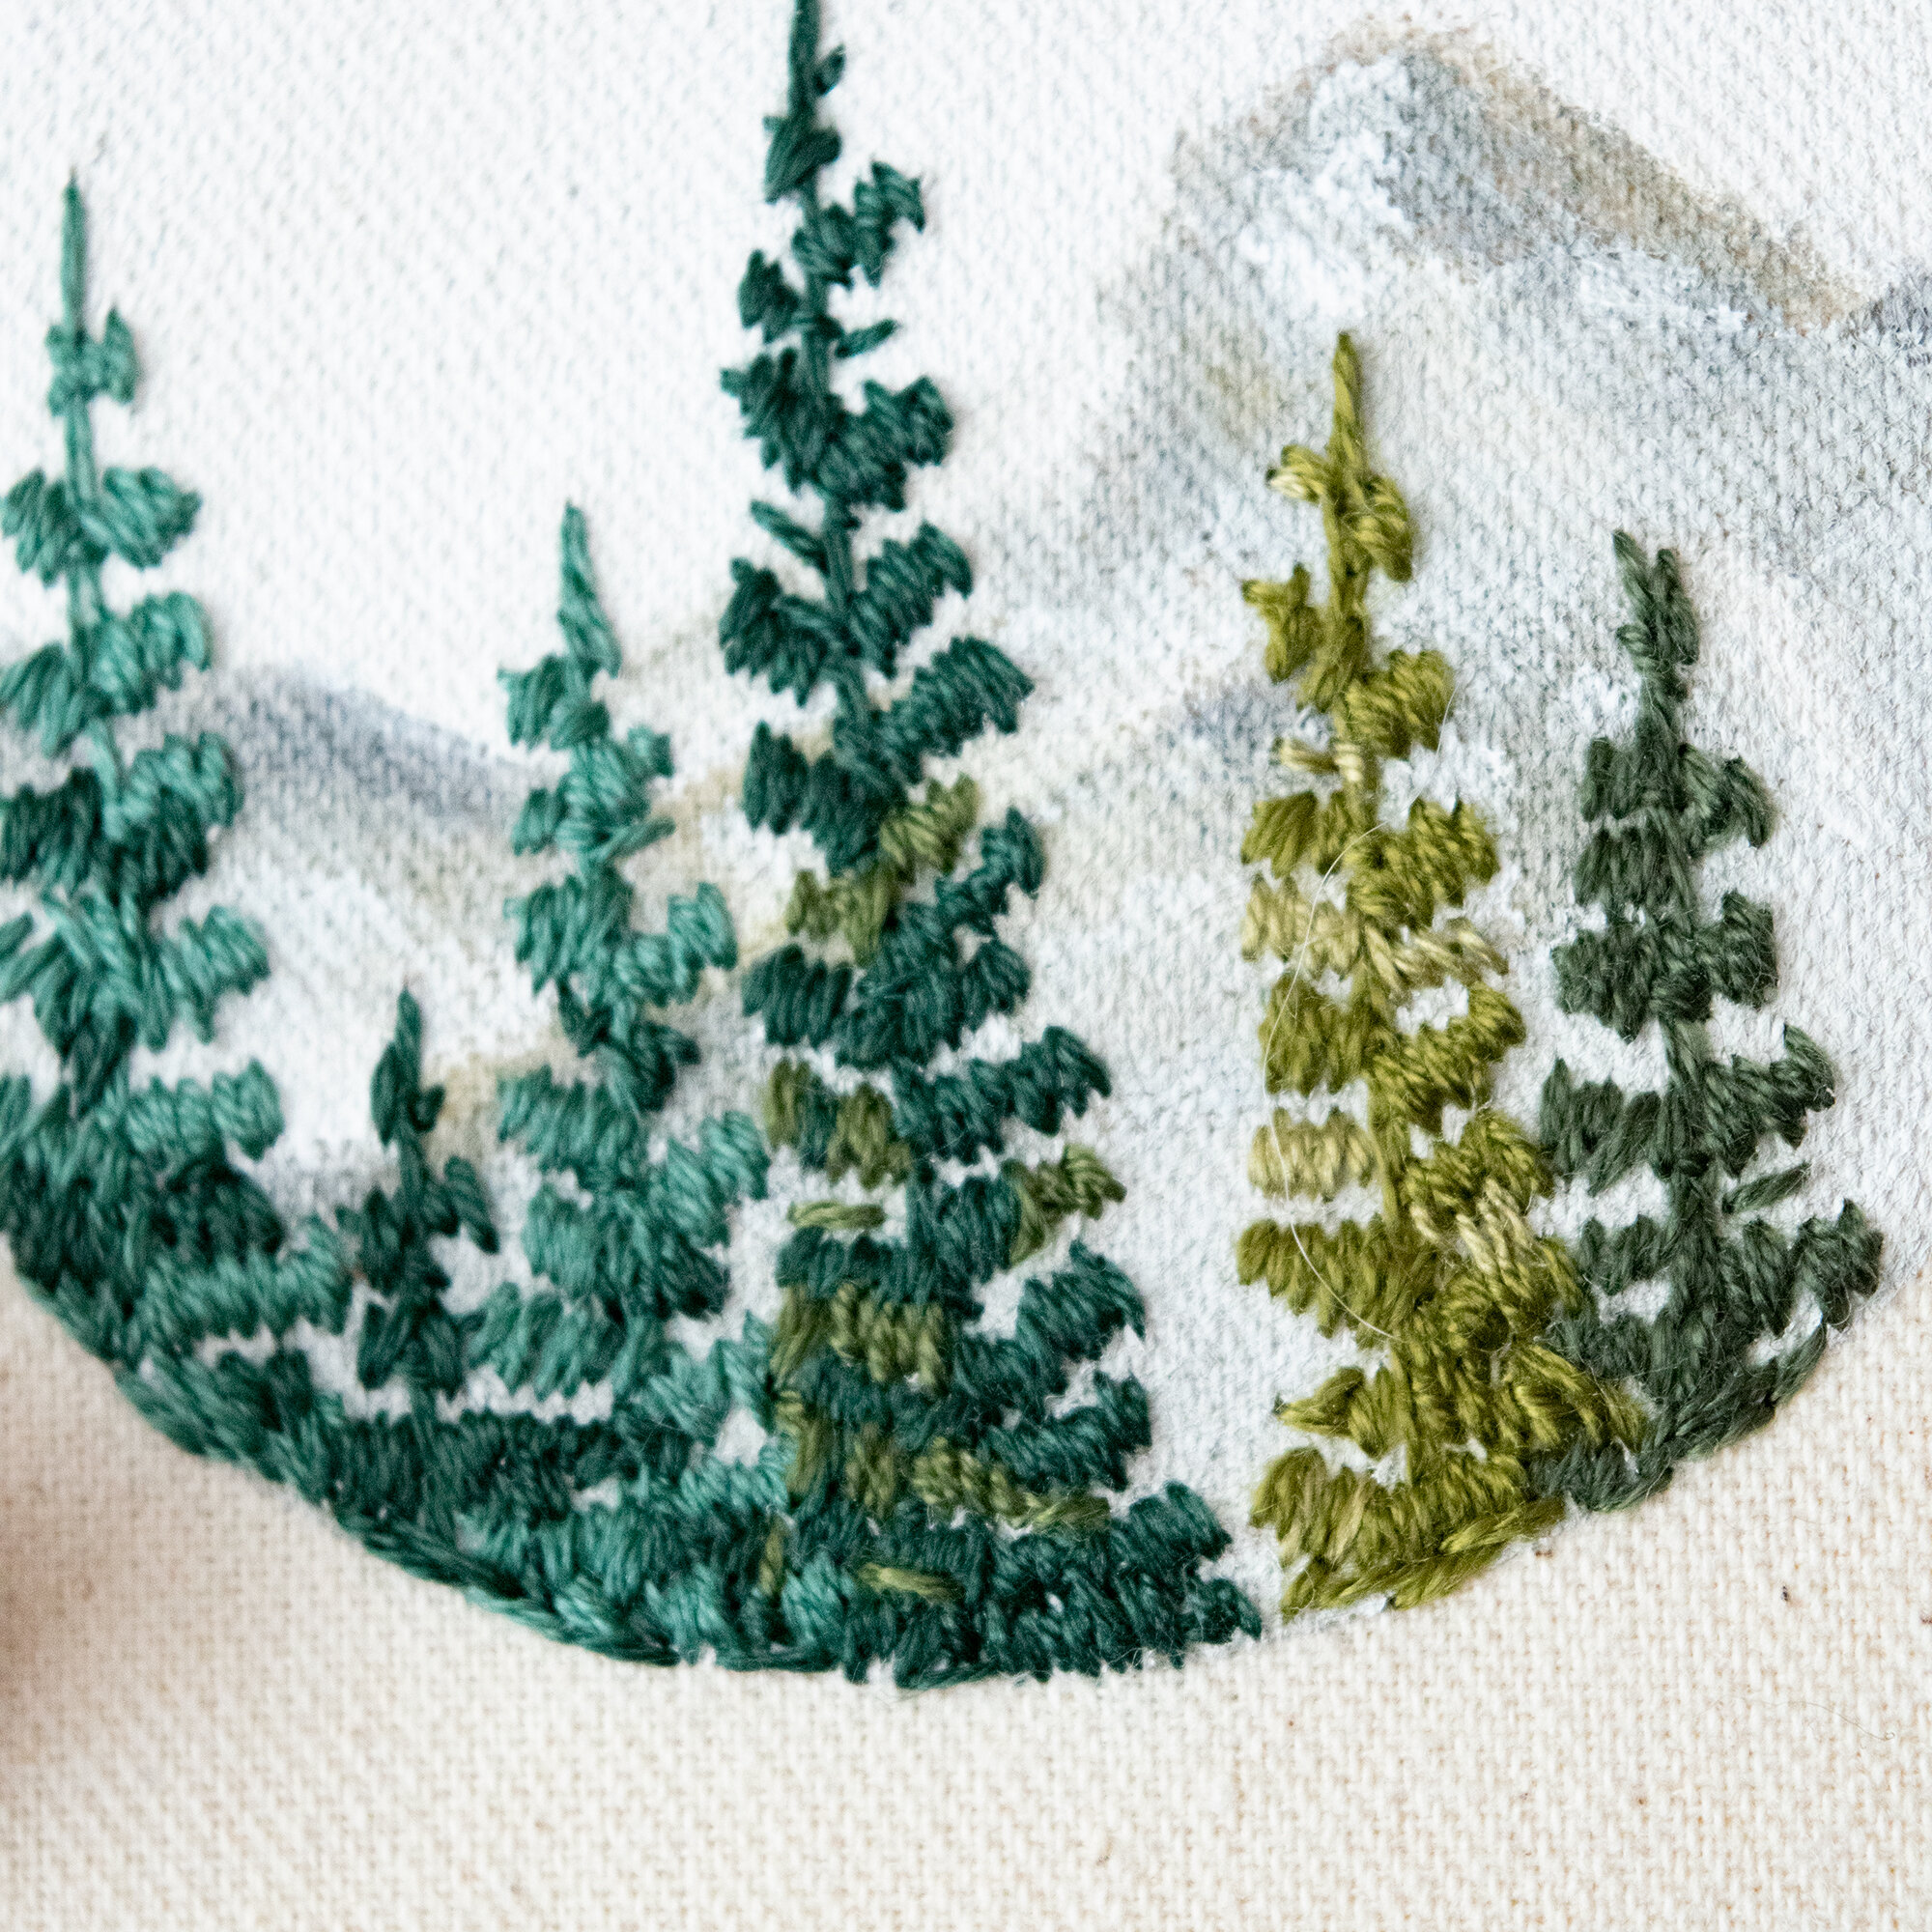
In the photo above, I’ve begun to stitch the trees by starting with the trunks, and working my way up the trunk with diagonal lines. The next photo is a graphical representation of how the trees are made.

Stitching the branches
The lightest colored lines in the photo represent the first stitches I put down, and the darker stitches represent the last stitches I put down.
The first step is the tree trunk, represented by the lightest green.
The second step is the branches, represented by the medium green.
The third step is the pine needles, represented by the darkest green.
The stitches I make for the trunk and the branches help me to properly place my "pine needles". Think of the trunk and branch stitches as the skeleton to guide you on your path to making the rest of the tree. Once you have your skeleton you can fill in all of the pine needles. (Keep note of the angles of each stitch.)
I hope you enjoyed this brief little tutorial for my redwood trees! Want to see more tutorials on specific elements of my embroideries? Did you make your own embroidery with paint and thread using these redwood trees? Leave me a message below saying how it turned out.


All content on this page is copyright protected. ©